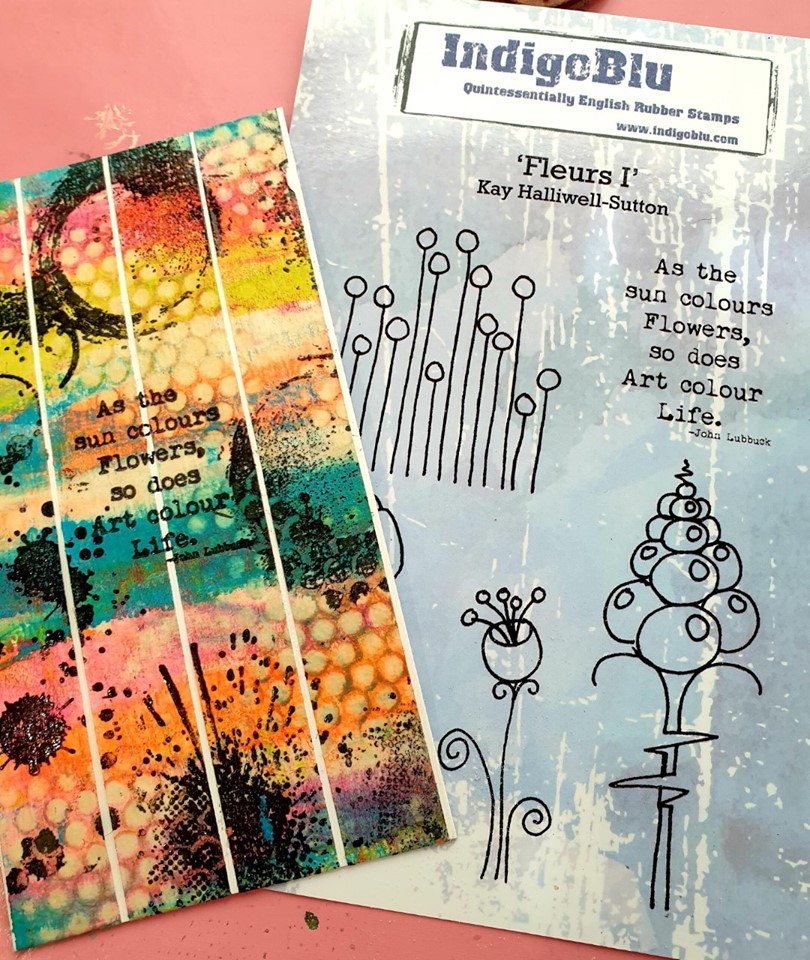
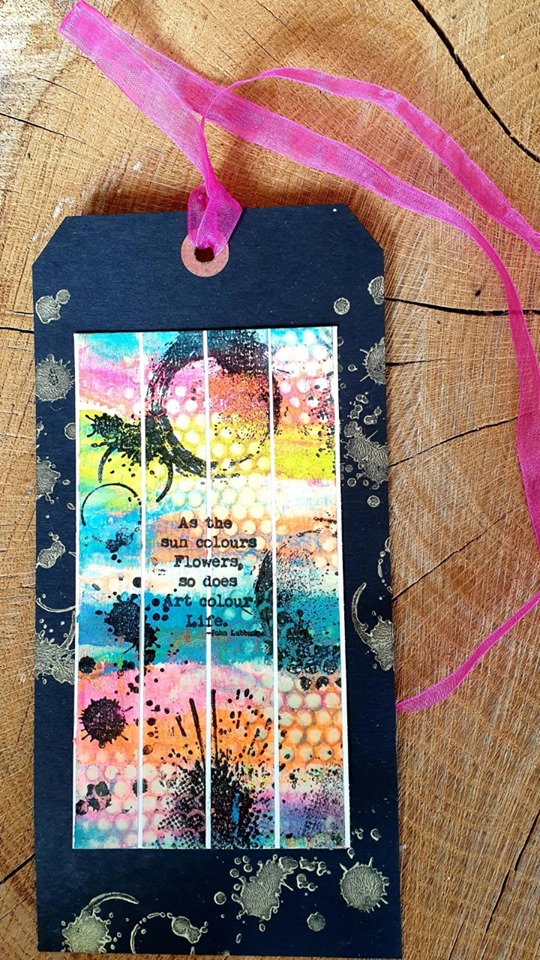
Maak je eigen washi tape met Jolande

In deze korte tutorial laat Jolande je zien hoe je super makkelijk en snel leuke washitape tag kan maken....doe je lekker mee.
In this short tutorial Jolande will explain how she made a lovely washitape tage.... you should try this... te result is easy and stunning...
Stap 1
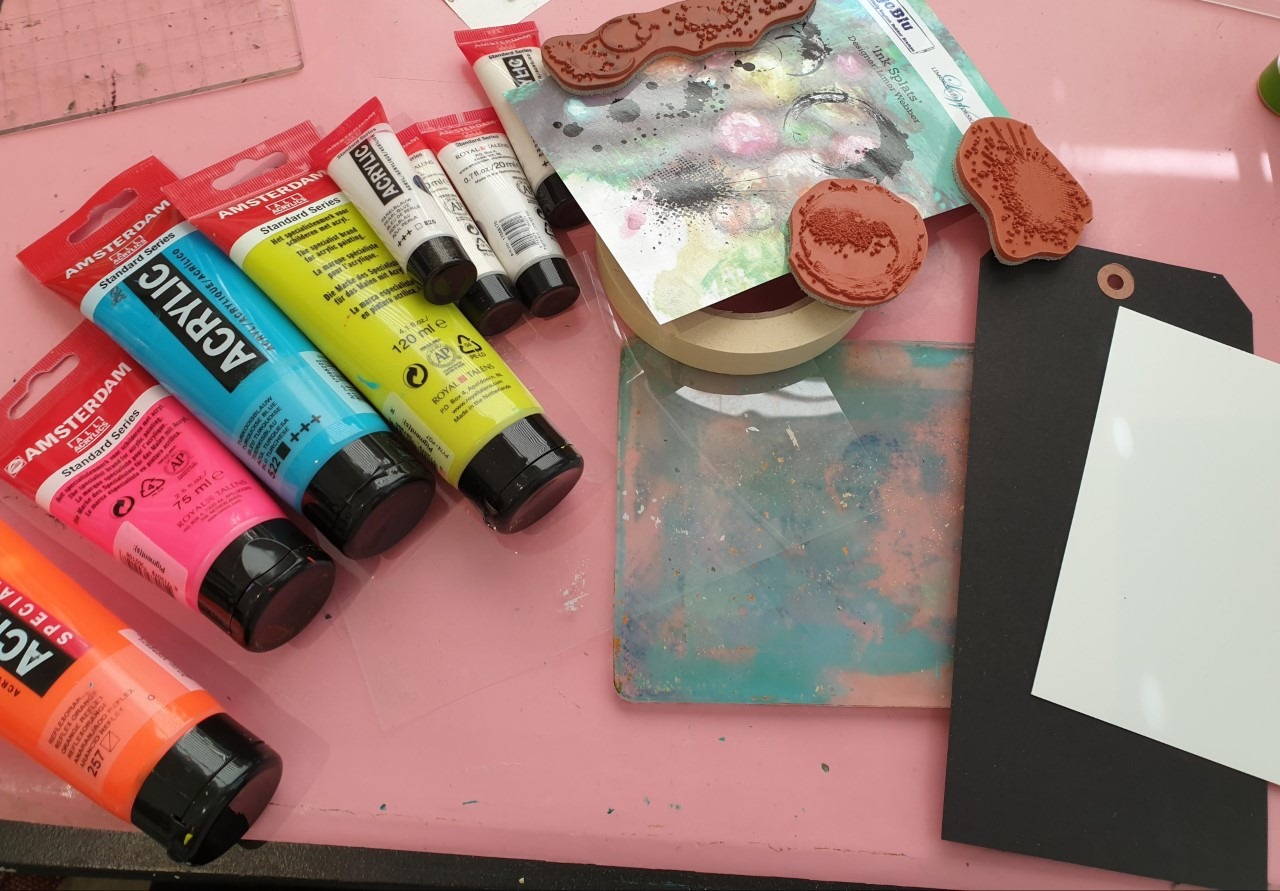
deze materialen heb ik gebruikt.
---
Step 1
I have used these materials.
Stap 2
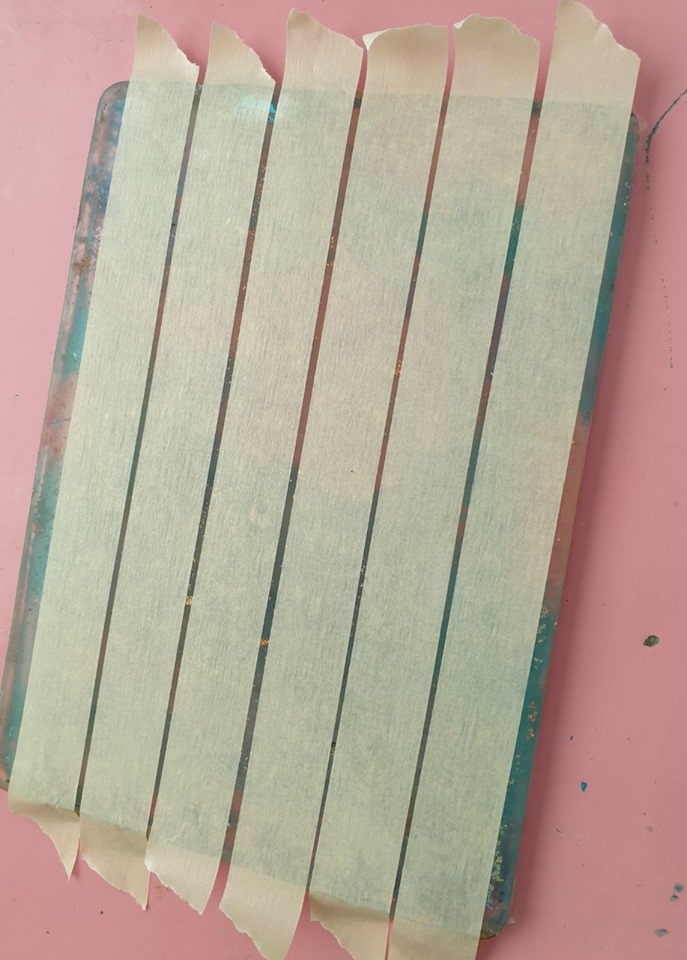
plak schilderStape op een micasheet (of een dikke plastic sheet)
---
Step 2
stick painter's tape on a mica sheet (or a thick plastic sheet)
Stap 3
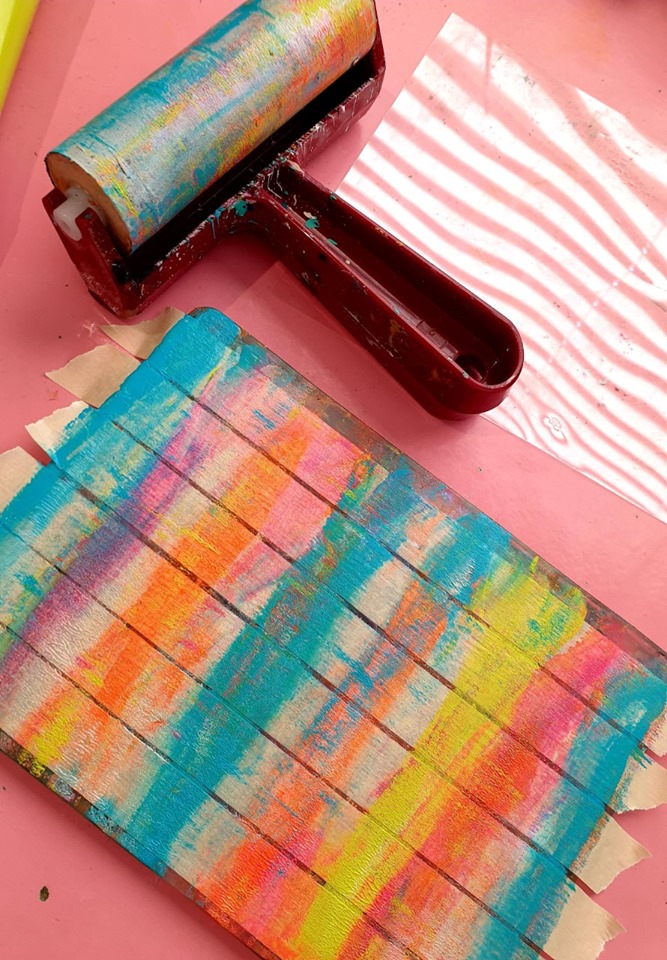
smeer kleine dotjes verf op de washi tape en rol het uit met de brayer.
---
Step 3
spread small dots of paint on the washi tape and roll it out with the brayer.
Stap 4
leg er (als het nog nat is) een stencil overheen en wrijf dan met een babydoekje.
---
Step 4
put a stencil over it (if it is still wet) and then rub with a baby wipe.

Stap 5
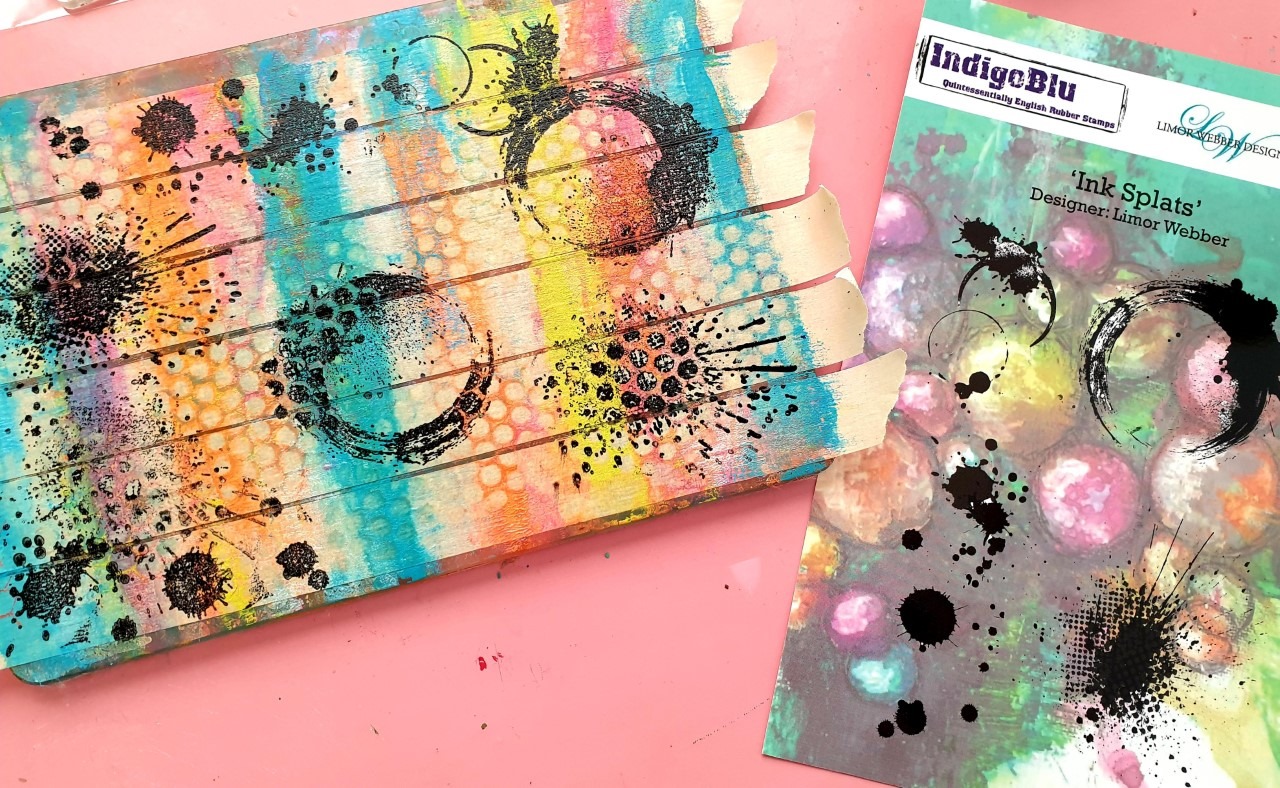
plaats stempels met watervaste inkt en laat goed drogen.
haal voorzichtig de schildertape van het plastic en plak het op een rechthoekig stuk dik papier. Sla de randjes goed om zodat alles mooi doorloopt.
---
Step 5
place stamps with waterproof ink and let dry well.
carefully remove the painter's tape from the plastic and stick it on a rectangular piece of thick paper. Turn the edges well so that everything runs smoothly.
Stap 6/7
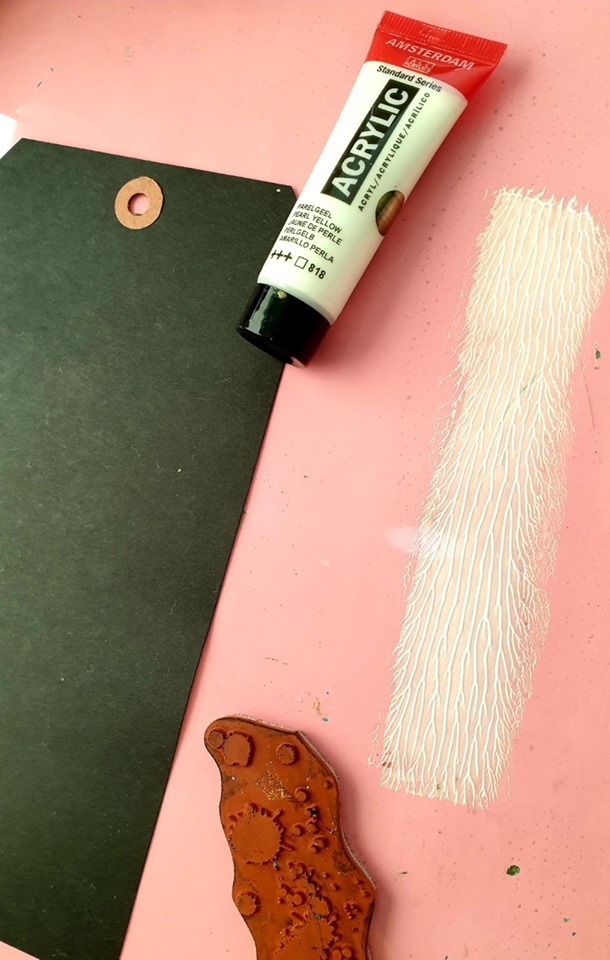
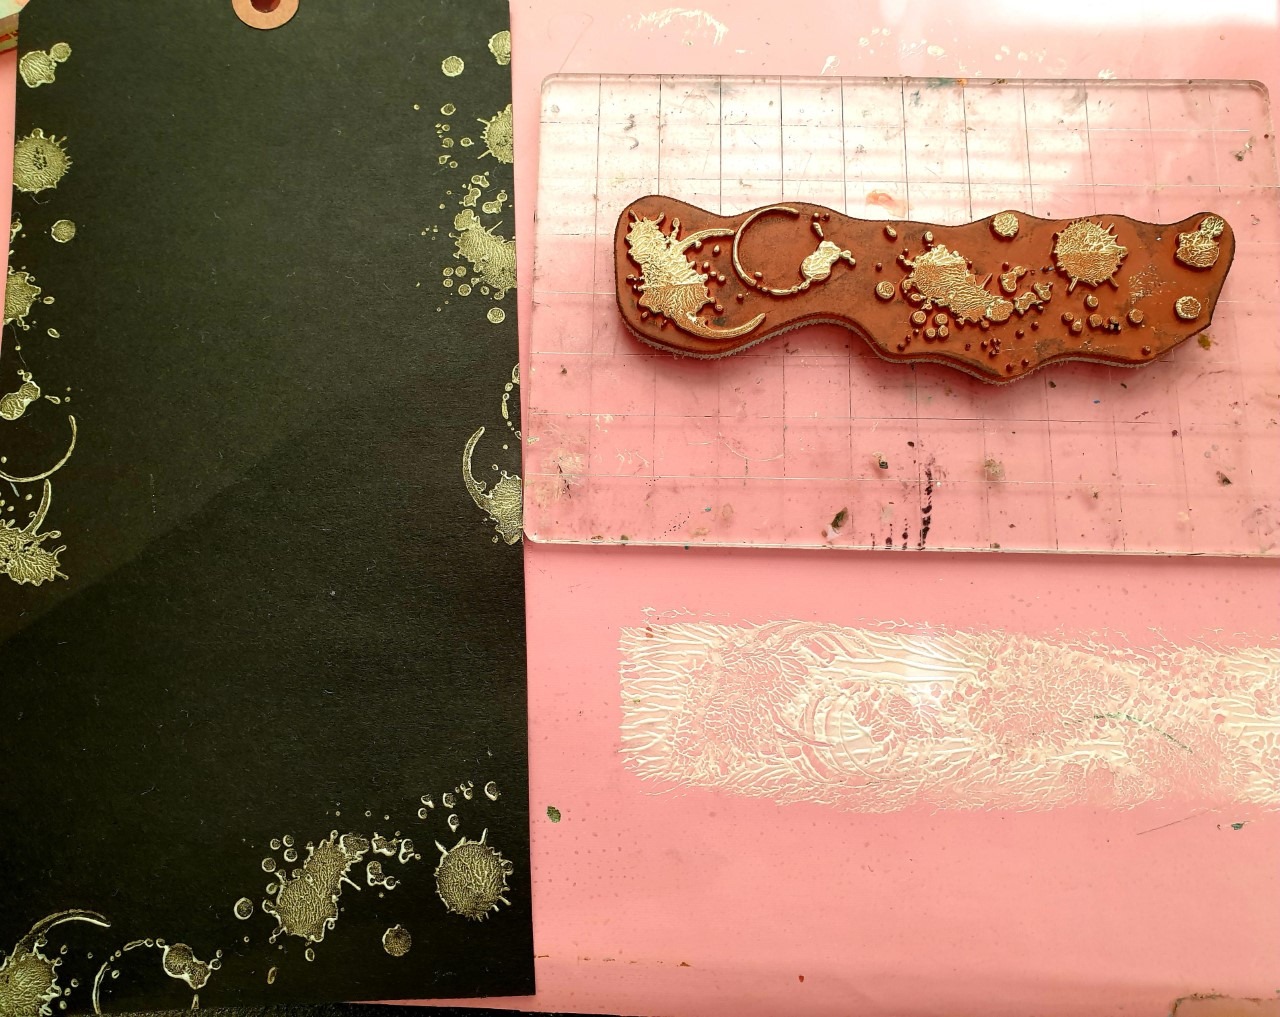
smeer een beetje parelmoerverf op je craftsheet, druk daar de stempel in en plaats dit
op je zwarte tag. Maak daarna je stempels gelijk goed schoon.
---
Step 6/7
smear a bit of mother-of-pearl paint on your craftsheet, press the stamp there and place it on your black tag. Then clean your stamps immediately.
Stap 8
plaats je tekst, met watervaste inkt, in het midden en klaar is je tag
---
Step 8
place your text, with waterproof ink, in the middle and your tag is ready
